How to build your free resource library in Squarespace
What's inside this post: Hide

📌 Pin it!
My own Free Resource Library has evolved a lot since I initially set it up. It used to be a password-protected page for most of that time and I never really felt right about that.
I don't know about you, but I like to see the resources before I decide to sign up & grab one; ya know?
So I decided to open it up to everyone. That meant no more passwords!
But how do those freebies still work as opt-ins, if the page isn't password protected anymore?
It’s a valid question, to be sure.
I'll walk ya through how to set up your own Free Resource Library for all of your opt-ins, but without the pesky password-protected page(s).
How to share & deliver opt-ins or free resources on Squarespace
❶ First, upload all of your opt-ins.
In your account, in your grey sidebar on the left, select Pages. Then under the Not Linked or Unlinked section, click the + to add it.
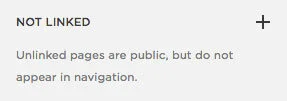
Instead of clicking on new Page icon, select Link (at the bottom):
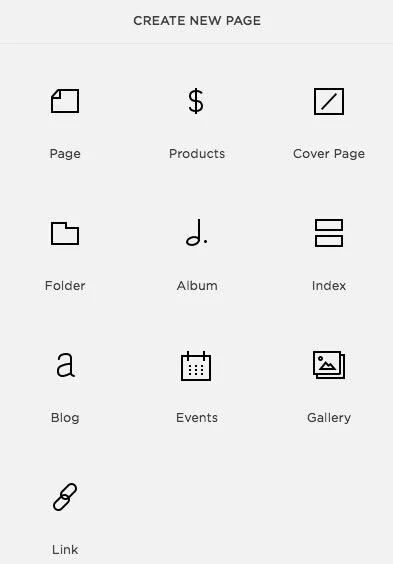
menu for creating a new page on 7.0
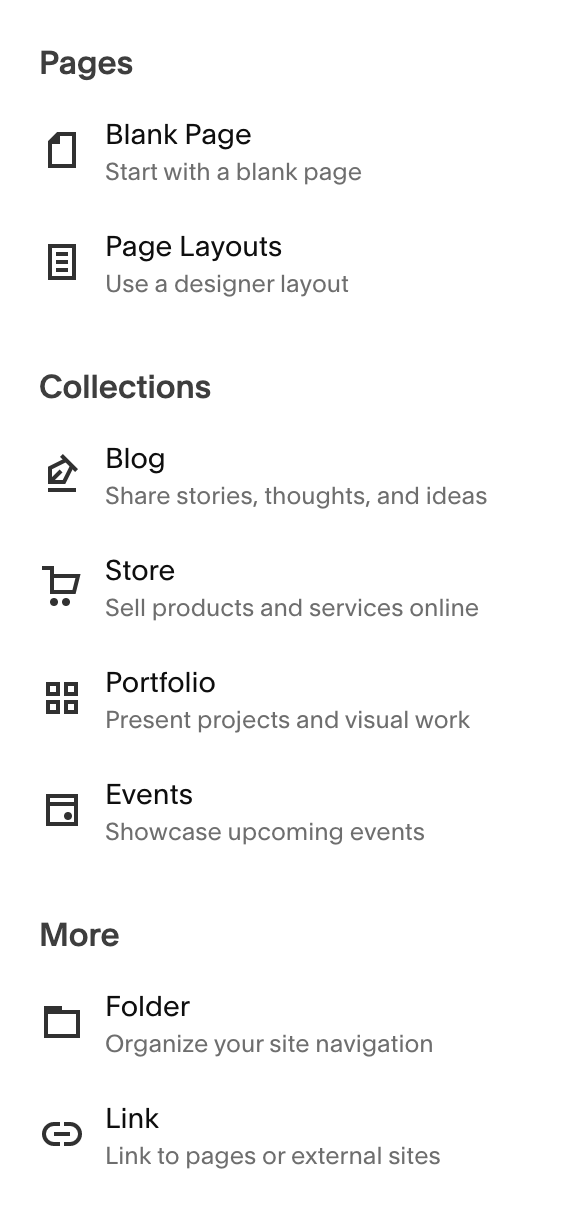
menu for creating a new page on 7.1
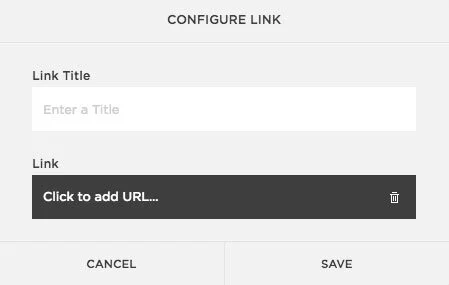
Next, a window like this will pop up. Type in the link title (page name), and click inside the black box (you'll be able to upload the file from there):
That link area will expand downward (as pictured below). Over on the right side, directly under the black box area, click on File.
Then New File area should be up by default. If it isn't, go ahead & select that, then click "Add a file" or drag & drop your file into that upload area.
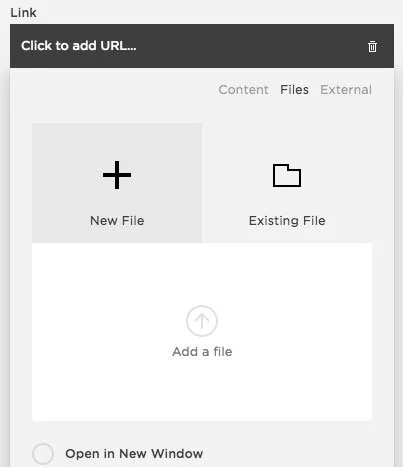
Select Apply once your file has uploaded. *(Note, I believe the file size limit is about 20MB).
Your link to that file will be whatever the link shows in that window, inside that black box. That part goes after your primary domain URL.
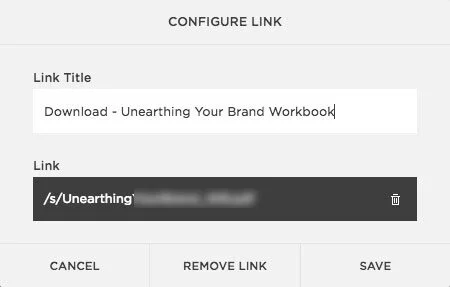
So for example, for me this link would be:
www.launchthedamnthing.com/s/Unearthing.....example.pdf
Click Save!
Repeat those steps for each opt-in you have.
To keep them organized, you can also add a new Folder (in the Not Linked area, click the + then select the folder icon which is labeled "Folder") and drag all of your newly added opt-ins into that folder.
Now you have link-page(s) that goes directly to your opt-in(s)! But what is it & how do you use it?
❷ Option A: Use galleries or Auto Layout sections + opt-in forms
The easiest way to offer freebies in exchange for signing up to your email list is to use signup forms from your email marketing service. Most email marketing companies offer some level of automation, so you can set up the form to redirect to a link or set up an automation to deliver the freebie after they’ve confirmed their subscription.
This is how my resource library works!
Each item links to a signup form via ConvertKit’s full-page forms. Once the person has signed up, I have an automation set up to deliver the freebie automatically and add that person to a specific segment in my list so I can try to send them only the most relevant emails.
This route doesn’t need Zapier or a Google Sheet to store emails and transfer info to your email marketing, so it’s more streamlined, efficient, and automatic, which makes it my preferred method & the preferred method of most entrepreneurs offering opt-ins and freebies.
Using Gallery Blocks
This block types are ONLY available to Circle Members these days, which may or may not be true for both 7.0 and 7.1 website versions. (It’s definitely true for v7.1 websites.)
If you have access to a Gallery Block on a v7.0 website, then this is the only way you can create a grid layout similar to mine, without manual effort of creating your own grid with multiple blocks (image + text + button blocks for each freebie & laying them out in columns in Classic Editor on v7.0).
Using Auto Layout sections
This is ONLY available on version 7.1 of Squarespace, whether you’re using the editor (Fluid Engine) or the old one (Classic Editor); it’s NOT available on version 7.0 of Squarespace. For this layout, you’d search Add a Section to the page, search that layout picker popup for any option that looks like a grid layout with the (ℹ) icon on the preview of the layout in the top right corner.
Those are the Auto Layout section types. The ones that look like a grid but don’t have anything but images on them, are gallery section types, which don’t give you the option for titles & paragraphs & buttons around or on each image, so they don’t work great for this use-case.
In this section type, once you’ve added it to the page, you can add your freebie’s mockup image in the Content tab of that section’s editor panel, and also a title, paragraph & linked button for each item in the grid. Under the Design tab, you can set the number of columns, the layout style (mine is “Simple List”), spacing and more, so I encourage you to explore all of those options.
If you get stuck setting this up & want to learn more about how to use these mysteriously unlabeled section types, let me know in the comments below this post or read about Auto Layouts in this article from Squarespace.
❷ Option B: Create a new Cover Page for each opt-in (on 7.0 )
Officially named “Cover pages” are only available in version 7.0 of Squarespace, so this option won’t work in version 7.1 but there are multiple other options (for use in either version of Squarespace):
You could create new pages for each freebie and use CSS to hide the header & footer on each page. This would be kind of a design your own form or sales page kind of approach.
Or you could use Squarespace’s own lightbox form feature to collect emails without displaying the entire form next to the freebie listed, instead just showing the form-link button (which opens the form in a popup).
You could also just use the newsletter block if you’re already using Squarespace Email Campaigns… but I suggest that you don’t. Other email marketing services, like FloDesk or ConvertKit will give you far more features.
In v7.1 you can now create your own ‘cover page’ fakes by creating new pages, and turning on the “Hide Header” and “Hide Footer” toggles in the new Navigation settings for that page! Effectively making that new a page a ‘cover page’ style layout, because the header & footer can easily be hidden without custom code. Learn more about how to hide navigational areas on individual pages in Squarespace’s article here.
Back to Cover Pages:
If you have more than one freebie to offer, create the first cover page, then duplicate the first one & tweak it to fit all your others.
To create the Cover Page we go back to the Not Linked section. This time, choose Cover Page (on the top right).
Give the new page a name that correlates with your opt-in.
For example:
My opt-in link-page page will always be titled "Download - file name here."
My Cover page for that download will just be the name of the opt-in.
Go through the setup for a Cover page:
Choose a template/layout
Branding & Text
decide whether to use your logo or text
give it a headline (name the freebie)
add body text (explain what the freebie is)
Media
Add a background image
Action
(use this section to create buttons, links & forms)
My suggestion is to create a form and have that be the only button
All you need to ask for is the Name & Email (for sign-up)
Select where you want Squarespace to store the info
(Note: you can create a Zap that will add new signups to your email marketing platform of choice later)
Name your submit button
Give it a Post-Submit Message
('Thank you! Your info has been submitted,' etc.)
Then in the Post-Submit HTML section, paste in this code to get an automatic re-direct to your opt-in once they've subscribed:
<meta http-equiv="refresh" content="0; url=PASTE IN THE FULL URL OF YOUR OPT-IN HERE"/>
Click Save
Social Icons
Choose whether you want to add your Social icons
Style
Edit the style of the page to match the rest of your website
Save!
To duplicate that Cover Page once you're done, click the gear icon for that page in the Pages menu bar, & scroll to the bottom of that pop-up. Click the black button "Duplicate," and start this process over again.
When you duplicate, don't forget to change the URL in the form's re-direct HTML code, and update all the names & descriptions, titles & body text, etc. to fit that opt-in.
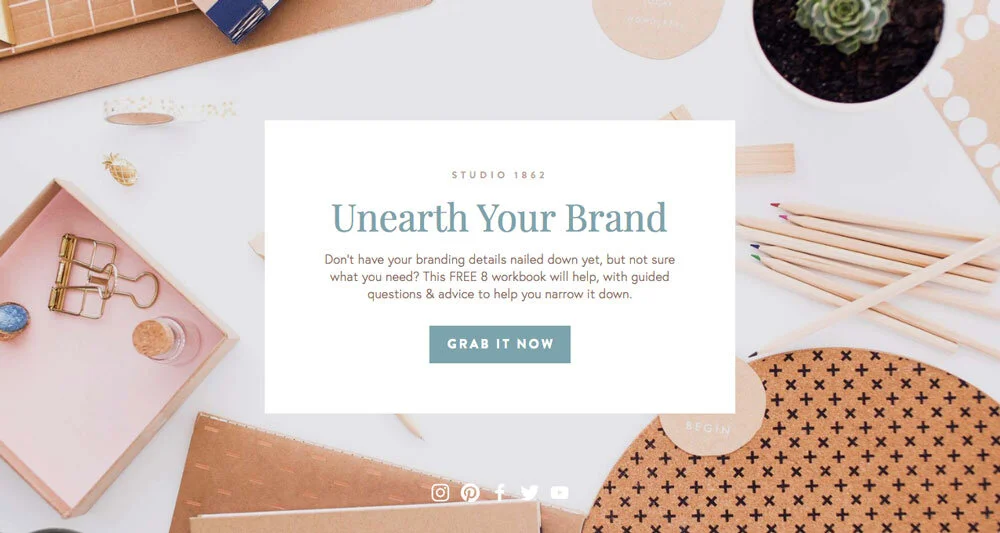
Here’s what my old Cover Page looked like for my Unearth Your Brand freebie in my old branding:
When all your Cover Pages are done, and you've uploaded all your freebie files, it's time to create your Free Resource Library page!
One caveat to this method
One thing that’s really important to note here is that you will need to connect these form submissions to a Google Sheet (the option is built into the storage settings for each form) and manually import the subscribers to your email marketing service, OR you will need to connect the form to Zapier to “zap” the info to your email list.
Zapier has a limited-use free plan, so you can have up to 5 zaps (last I checked) completing a finite amount of automations each month on that plan. If you have more freebies than that or have lots of signups, you’ll need a paid plan. If you’re already paying for Squarespace and your email marketing service, this isn’t ideal because it will cost extra unnecessarily.
Creating your free resource library
❸ Decide where you want to put your library
Do you want it linked or unlinked? If you want it linked, do you want to add the library to your primary or secondary navigation area?
Choose the area where you want to add the new library, in your Pages sidebar, and create the new page from that menu area with the + button.
❹ Create a new blank page
I'd start from scratch with a blank page layout, but if you aren't as good with that then feel free to start with a template layout & tweak it to fit your needs.
Make sure you name the page & give it a page description in that page's settings (using your business keywords in both so Google knows what this page is all about).
❺ Fill it with content
Now, give it a title and a brief description near the top of the page so your viewers know where they're landing when they get there.
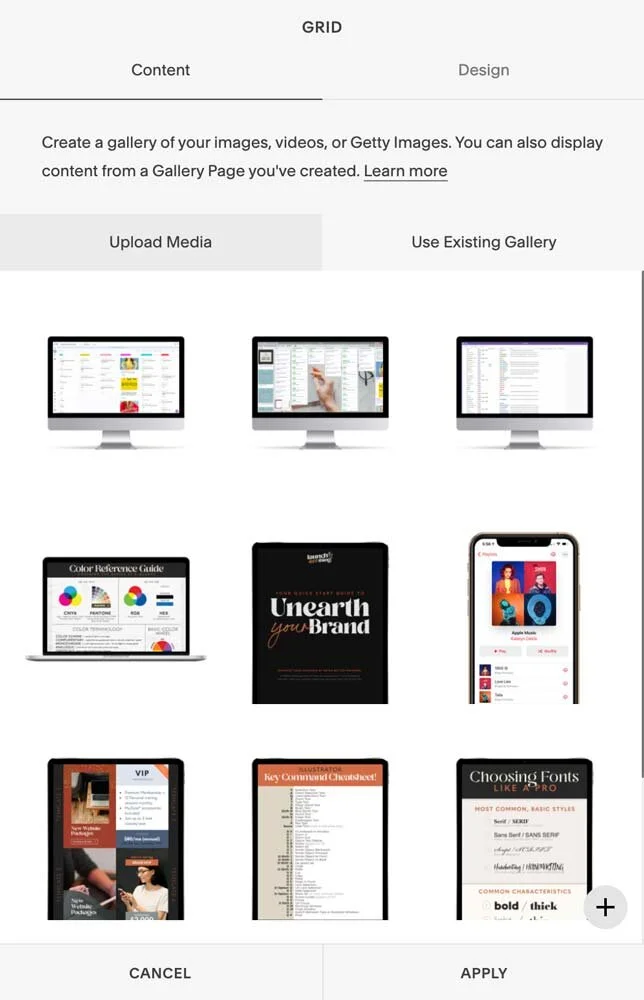
❻ Add a gallery block
Depending on what type of freebies you offer (images, downloads, advice, etc.) you'll have to do this in slightly different ways.
Mine are mostly images and downloadables, so I'll walk you through what I did for mine.
I added a Gallery block for the main freebies. I already had the preview image thumbnails created for the downloads, so I uploaded them to that gallery.
❼ Add SEO details & links
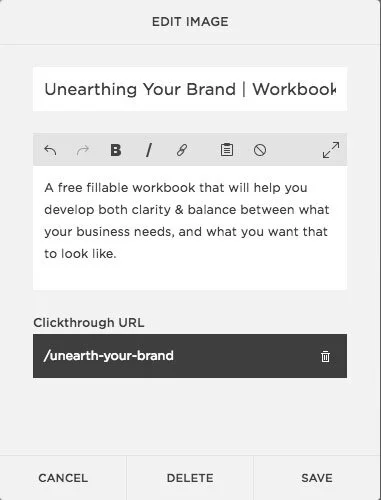
When you upload the images, make sure you go back & add some important details. To do that, click the gear icon that appears when you hover over each image in your Gallery Block. When you click it, the Edit Image window will pop up, allowing you to:
give each image thumbnail a Name
add a Description where applicable
Link that thumbnail to the actual download item or signup form
In the link area, choose one of these 2 choices:
Download with no sign-up:
This is why we uploaded all the opt-ins before we started! The now-linked opt-in file from your files in the menu for this area. (Look for it by the name you gave it.)Download with a sign-up:
choose the page or link to the form you created, so they will need to signup before they can receive the download.
Now, when they click on any of the Gallery's thumbnails, they'll be redirected to the landing page or form where they can sign up to download the freebie!