

How to create an easy, pretty email signature
Table of Contents Show
This is a question I see ALL the time. Every email app is a little different and some of them package images up into attachments which can make your carefully styled email signature arrive in someone else’s inbox looking completely different. Ugh.
That’s why I’m sharing these 3 simple ways to create an email signature that’s pretty, with no code or design software, and that works in most cases. Ready to dive in?!
3 simple ways to create a pretty email signature
Free & easy, these require very little effort & are copy-and-paste-able into most email settings, including Apple Mail, Gmail, the Spark app (read about it here; that’s what I use!), and Outlook.
Use Signature.Email
BEST RELIABLE & MOBILE-FRIENDLY OPTION
Signature.email is actually a newer company, owned by Jesse, a freelance designer & developer. The developer reached out to me personally & I tried it out for myself, before recommending it here.
It has a free version, a pay 1x plan for about $20, or a subscription cost if you want to develop multiples of the same style signature for a team of people, which is a really nice feature.
The builder itself is very easy to use, but super detailed compared to other builders I’ve found, –even allowing you to adjust spacing between the letters, add fields, adjust padding & margins, add borders to fields & choose the thickness of the lines. Before getting started you can even choose from one of several different layouts, which is really nice!
PRO TIP: To keep it mobile friendly, make sure your email signature is no more than 320 pixels wide, so the text won’t wrap funky or disappear off the screen. To check that, look at the Signature Width value in Global Styles.
Check out How to create a clickable, reliable, easy & pretty email signature for the updated walkthrough (& video transcript).


Additional free email signature design/generator options
If you’re not interested in Signature.email’s generator, then these next 2 options are additional methods I’ve used in the past.
The Google Docs method can be pretty quirky these days but used to work like a charm. Feel free to try it if you want, but it seems hit or miss now & doesn’t seem to work for everyone across the board anymore. If it does work though, then it’s very easy to set up & edit/maintain. The snags people seem to hit most frequently are when they copy/paste it elsewhere and the formatting is off, or the table shows the lines, or not pasting into the app they want, etc. So nothing catastrophic, just inconveniences.
Hubspot’s design style just didn’t jive with me, otherwise, that was a very simple & easy process that you’re welcome to try as well.
Just click to expand the tutorial below for each/either:
Use a Google Docs table
WARNING: this used to work perfectly every time, but lately it’s been a little glitchy in getting it to paste in correctly to email settings. So if it doesn’t work, try the 1st method above.
1) Start with a blank document.
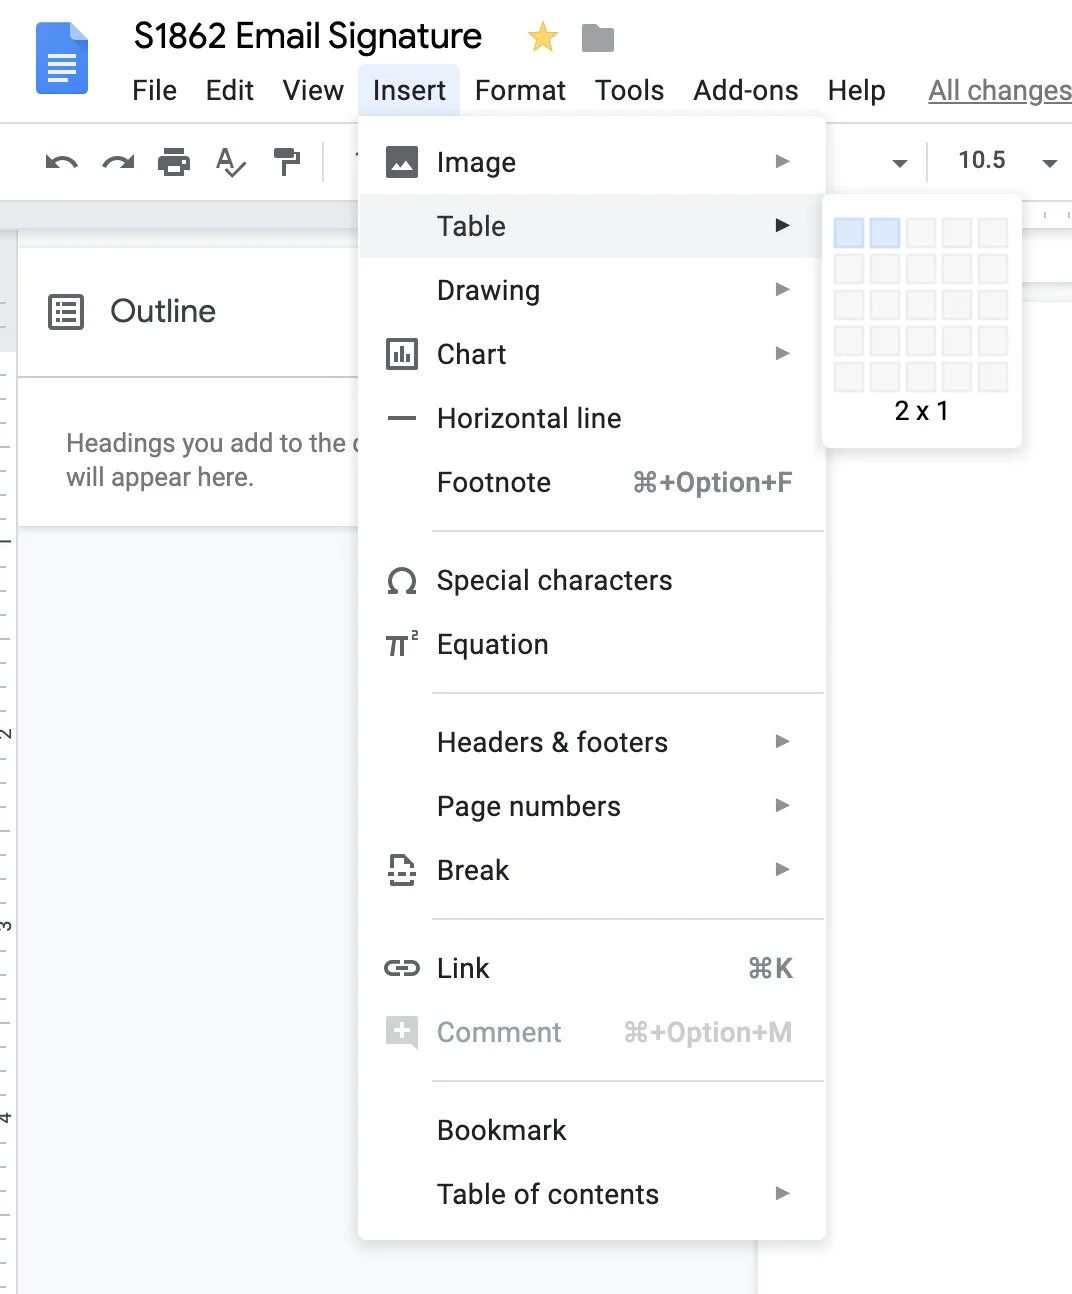
2) Add a table with 2 columns & 1 row (Insert → Table → select 2 blocks, horizontally)
3) Next click inside your first column, then go to Insert → Image & choose a photo of yourself or your logo.

just using a photo of me

inserted my logo in the same column under my photo
(resized & shrank the logo image to fit)
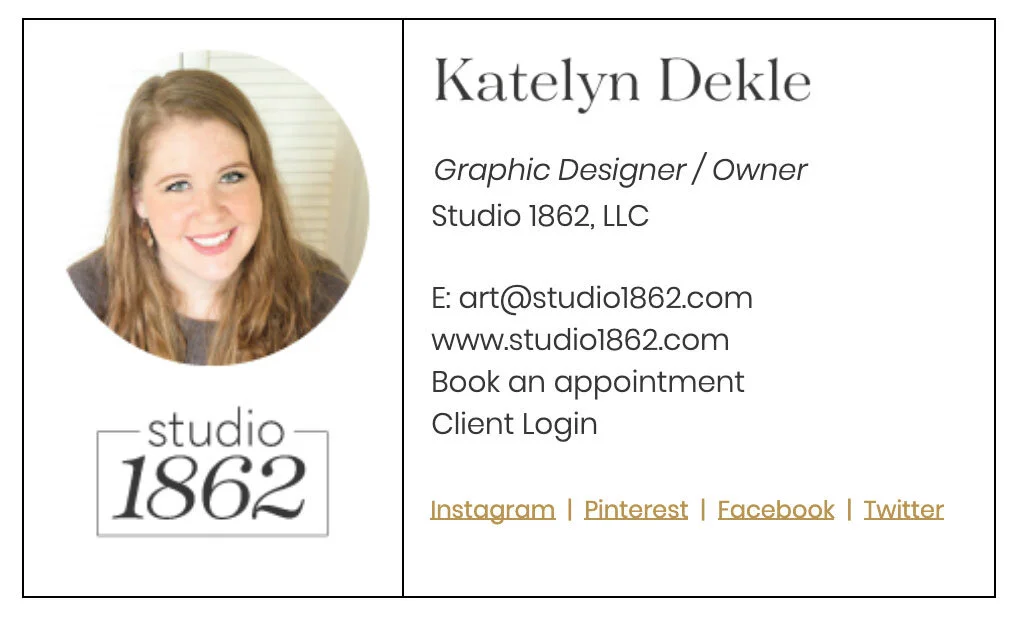
4) Add your information in the 2nd column
Click inside the 2nd box to start typing your information there. Add your name, contact info, social media handles, a link to your scheduler page, and whatever else you think will be helpful for your email recipients!
PRO TIP #1: Choose fonts carefully & stick to the basics. KISS = Keep it simple stupid / Keep it stupid-simple
Fonts that are not embedded or linked up in the coding do not follow the formatting style from computer-to-computer or user-to-user. That means if whatever font you used isn’t something I have access to, I won’t see it on my end. That’s why most people use Helvetica, Arial, Futura, Calibri, Garamond, Georgia, etc., which are available on most machines & platforms.
PRO TIP #2: Using a specific font style
If you want to use a specific font style that you know other people won’t have, this is a great way to stay on brand. To do this, you can type your text (I did this for my name), take a screen shot (Command+Shift+4, then click & drag over the area) or export that text as an image in design software (Ai or Psd or even Canva), then insert that image into the top of the right section of my email signature. Add your regular text beneath it.
5) Add your links!
Once your info has been added, select the text in groups to add links to the text by going to Insert → Link then filling out the link popup.
QUICK TIP: The keyboard command for linking selected text is Command+K on a Mac (or possibly Ctrl+K on a PC)
For some ideas of what you can link here:
your scheduler page, if you have one
your Instagram/Facebook/Pinterest/LinkedIn/Twitter/YouTube or all of the above & more
your phone number (if you give it out)
Type in your phone number in whatever format you use: 0 (123) 456-7890
select that whole number → link it to (use your ph# here): “tel:+01234567890” to make it clickable for a quick call
Your email, because some people just need to see the address. 😂
Type: use@youremailaddress.com → then link it to mailto:USE@YOUREMAILADDRESS.com
your website
Type: www.yourwebsiteurl.com → select that text then paste in the whole URL → click Apply

6) Get rid of the table outlines
Select the table by clicking to the right and dragging left until it appears selected. You want to be able to see the little grey down arrow pop up in the upper right-hand corner of the 2nd column.
Click the little arrow box and select the option in the top left that looks like a window.
That will select all of the table lines for you. While selected, go to the formatting bar to change the settings for those lines.
You can either:
change the size of the lines to 0, which makes them disappear, or
you can change the color to white which makes them match the background, or
(not recommended if you or anyone you know uses the dark-mode or background colors in their emails)
you can do both
select all of the table lines using the drop down inside the table
all lines selected
change the size of the lines to 0pt to get rid of them
all done!
7) Copy & Paste
You’re done setting it up, now just copy the whole table & paste into your email signature settings in whatever app you use. Then save!
Use Hubspot's free email signature generator
1) Go to their generator: https://www.hubspot.com/email-signature-generator
(Not an affiliate link!)
2) Click the ON/OFF toggle to turn off their promo-link / made by Hubspot or whatever it says
(Right under the “Select Your Template” text)
3) Select the template you want to start with
4) Click the 2nd tab to add/edit your text
5) Click the 3rd tab to style it
6) Click the last / 4th tab to add your images/logo & call to action button
QUICK TIP: You can use Squarespace’s image library to create links to your images if you don’t have Google Drive or Dropbox. Simply go to the Design menu, select Custom CSS (no coding required!), scroll to the bottom, then click Manage Custom Files. Then click the arrow icon to upload the image and/or logo files. Once they’ve uploaded select one; you’ll see it added the link to that image file in the Custom CSS area, wherever your cursor was. Select the entire link, copy & paste into the area in Hubspot. Do the same for both your photo and your logo if you’re using both!
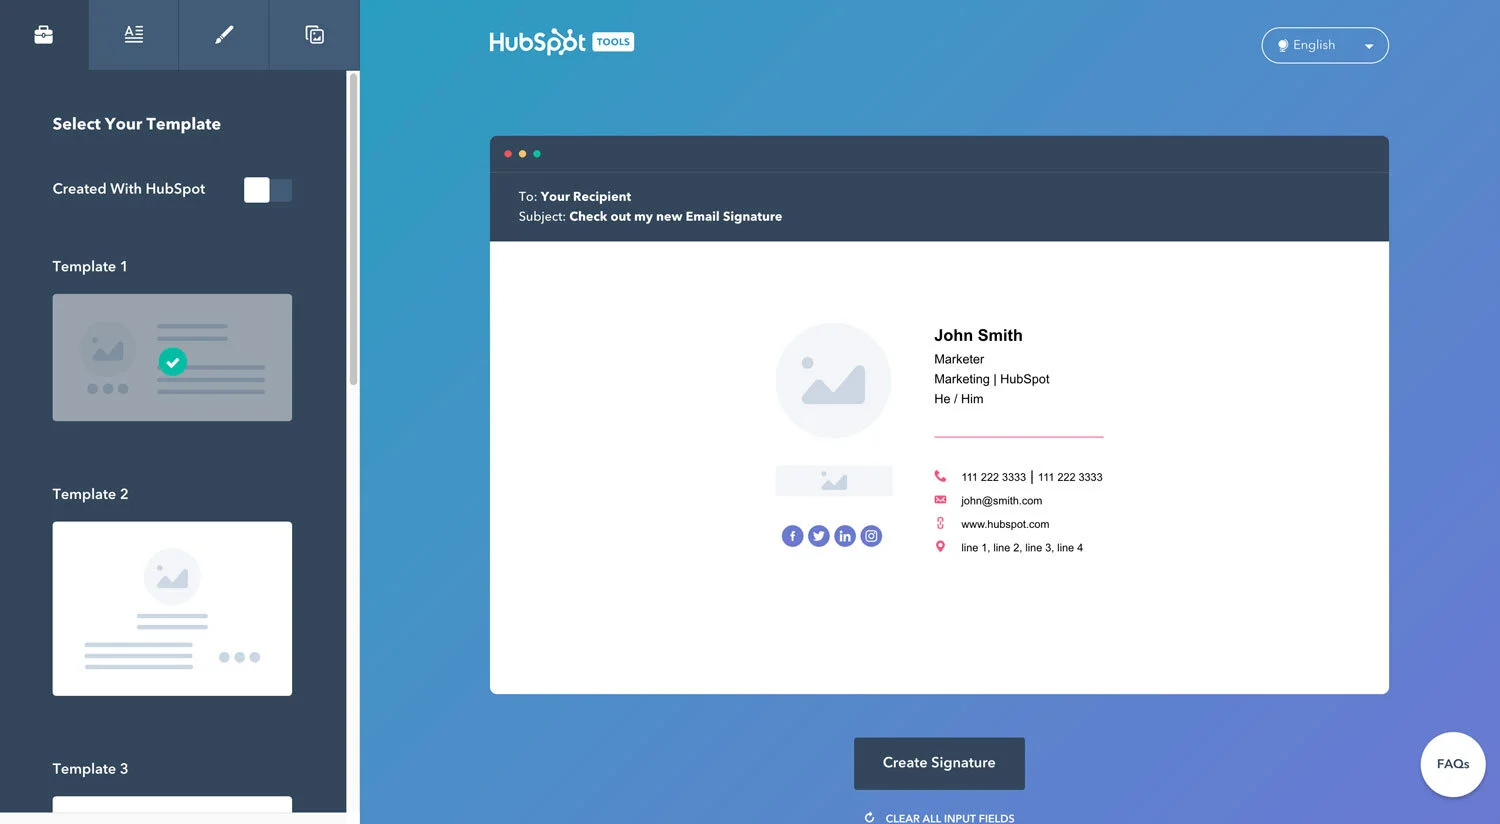
Step 1: pick a template & turn off their promo link toggle
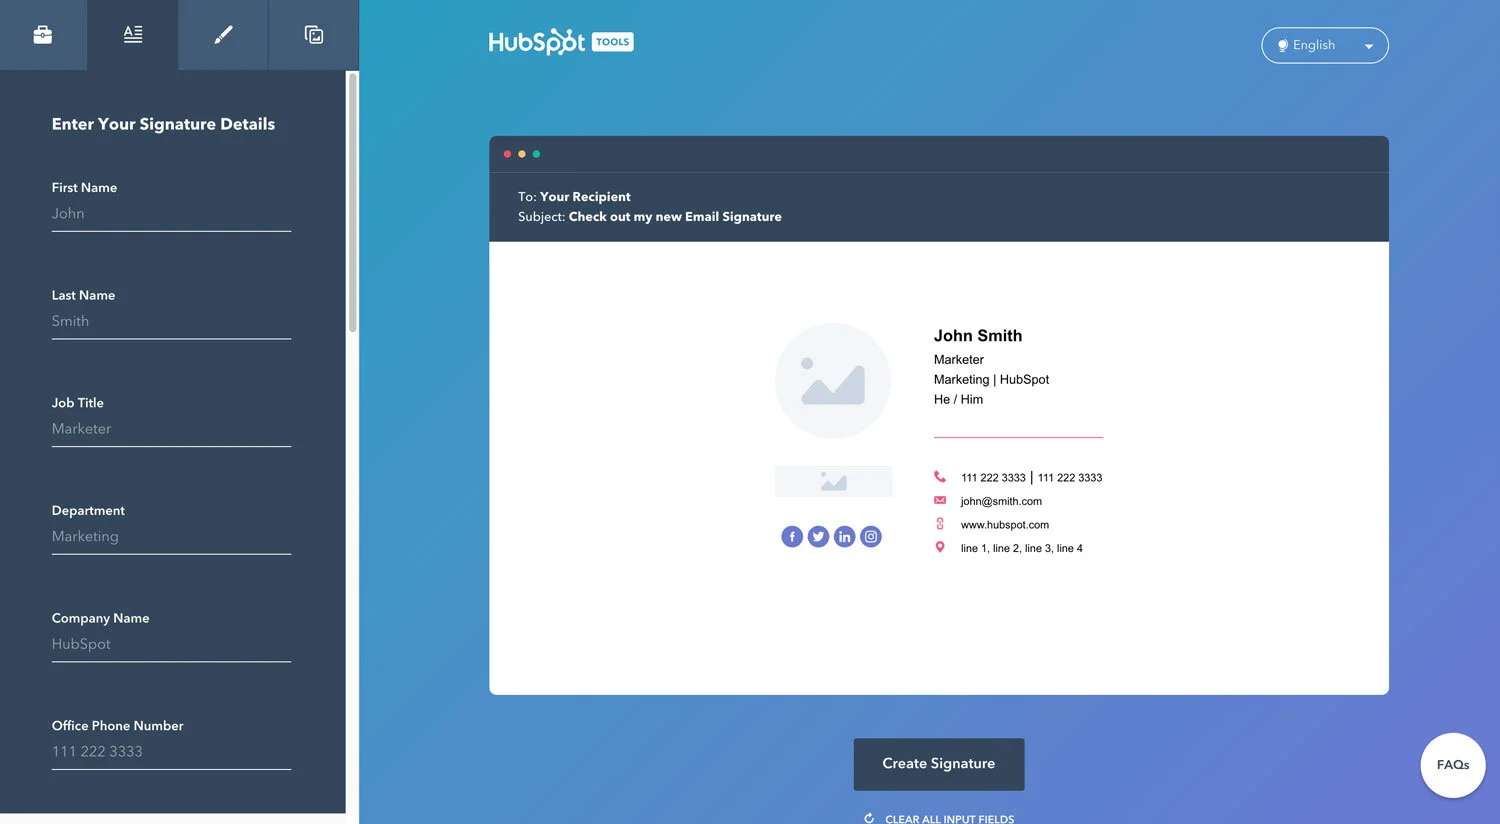
Step 2: enter your info (whatever you don’t fill out, won’t show up)
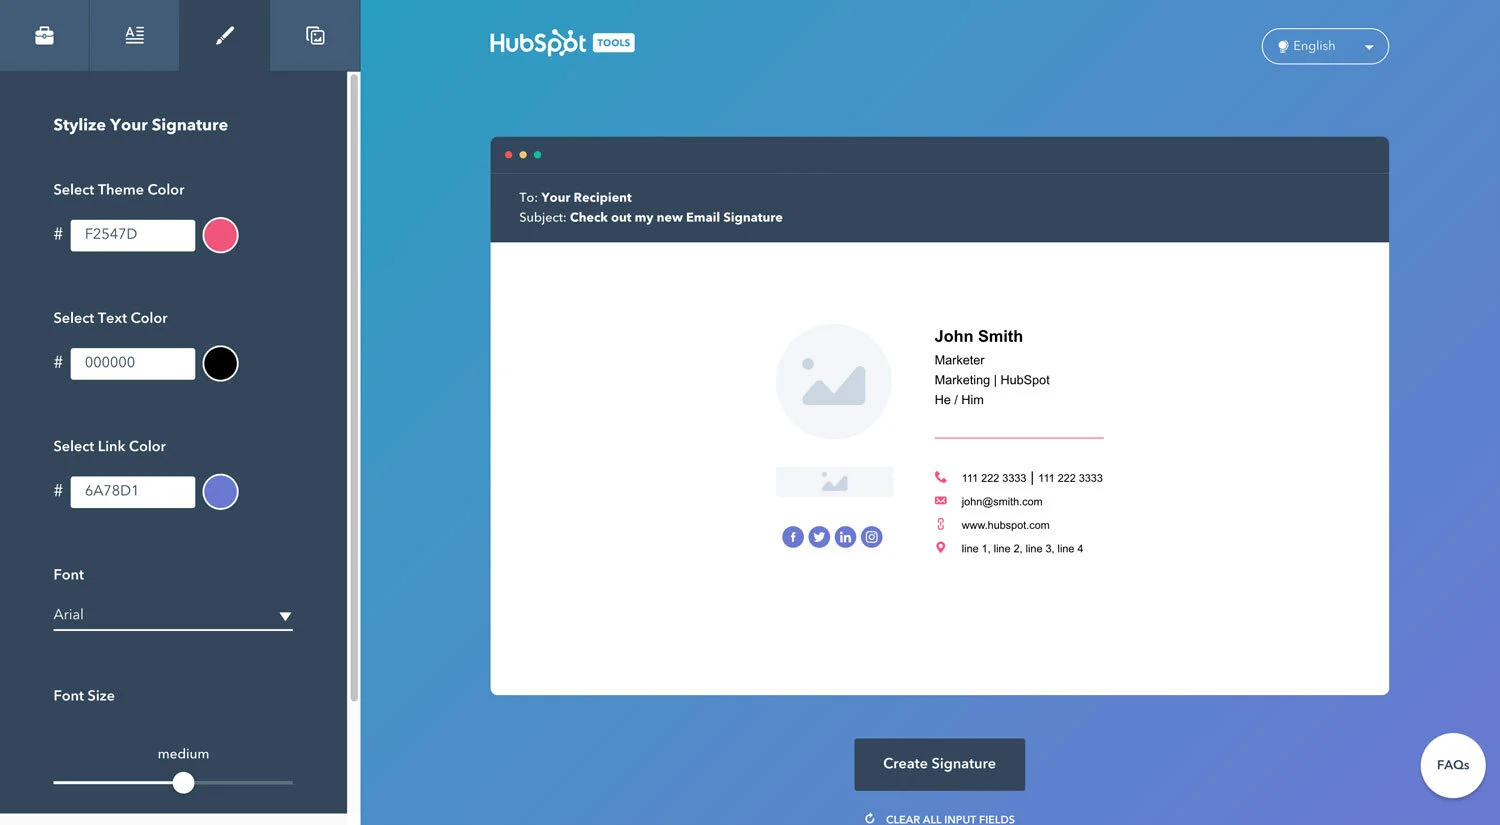
Step 3: choose your styling (use Coolors.co if you need to figure out your HEX color codes!)

Step 4: add images & a Call-to-action button
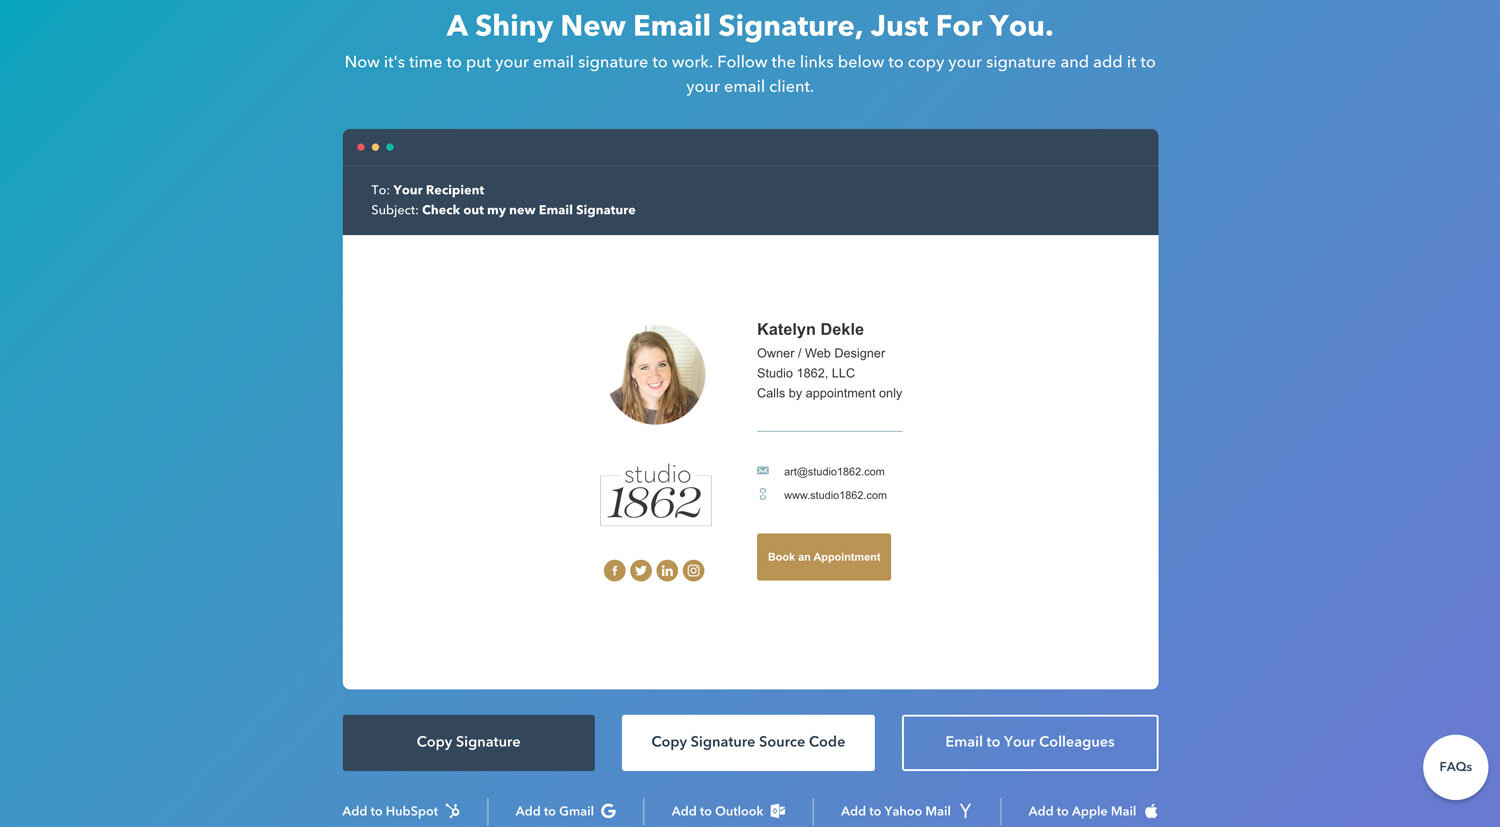
Done! Now copy your signature over to your email app.
NOTE: To get the code from Hubspot you do have to give them your phone number & they do start sending you emails immediately. BUT you can always unsubscribe right away.
There! It wasn’t too bad now, was it?